In the previous article we installed operating system to the blank disk and now we will use this new VM or it’s virtual disk (VHDX) to create a template.
Create clone from the existing VM
The process creation of the VM Template will destroy the original VM because the Sysprep will remove VM’s identity. If you do not want to loose the original VM then the easiest method is clone the VM and create VM Template from the clone (from the copy of the original VM).
- Clone
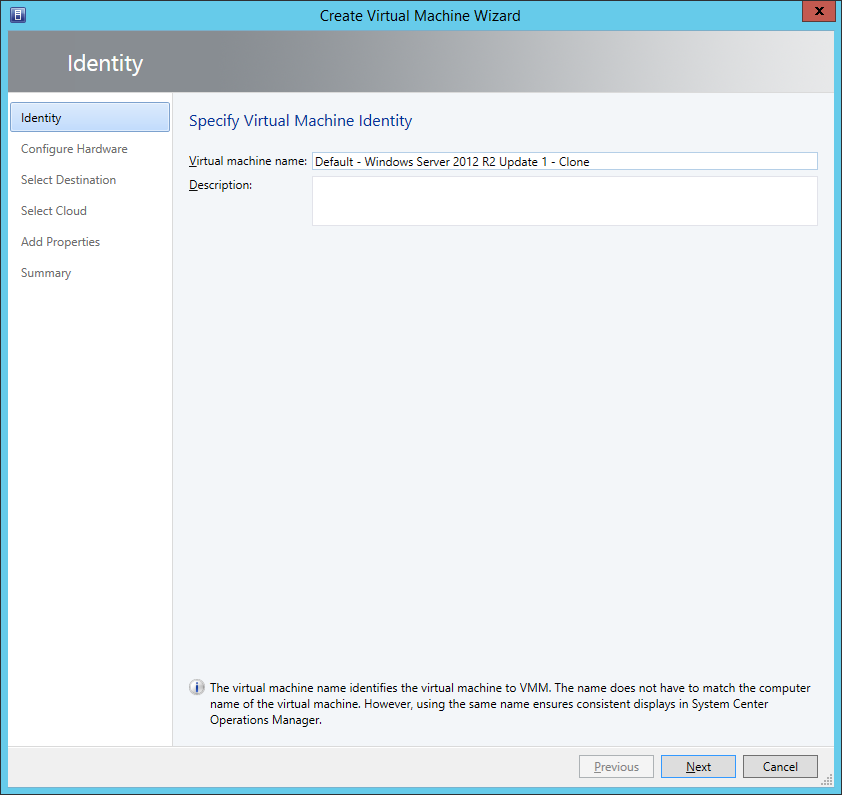
- Name the clone (the copy of the VM).

- Default – Windows Server 2012 R2 Update 1 – Clone
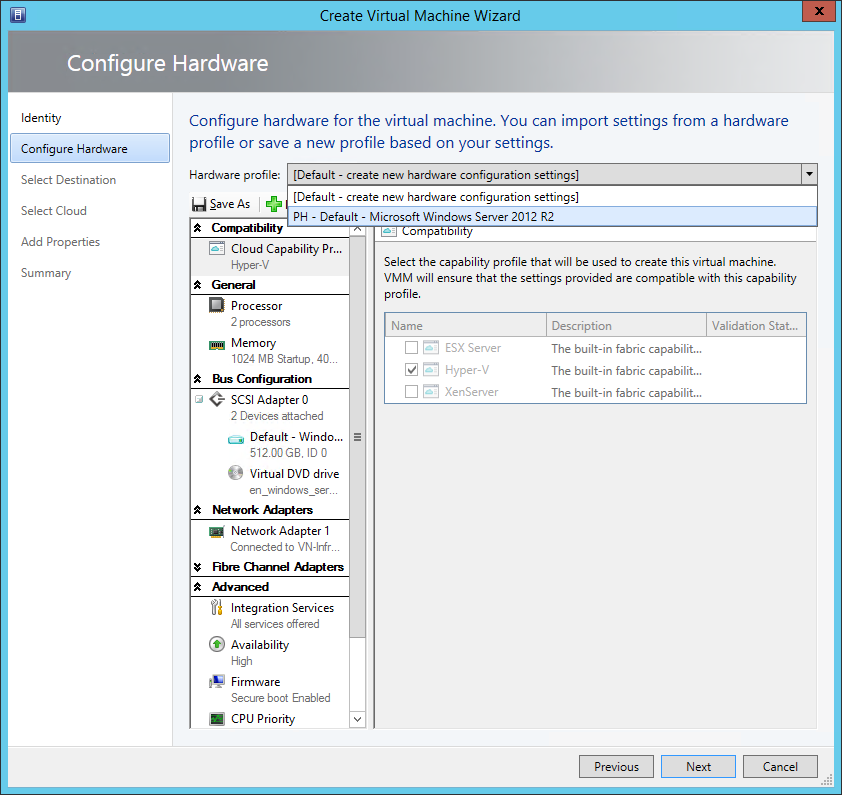
- Now it is possible to modify Hardware Profile for the clone. I will choose existing Hardware Profile.
- You do not have to modify the HW Profile because the modifications may be done during deployment of the new VM.
- You cannot do modification during creation of the VM Template so you may want to do it now so you will not have to do it during deployment.
- If you are not setting Hardware Profile then at least choose the hypervisor because if you do not select your hypervisor then you will end with warning (not error but the warnings are annoying).
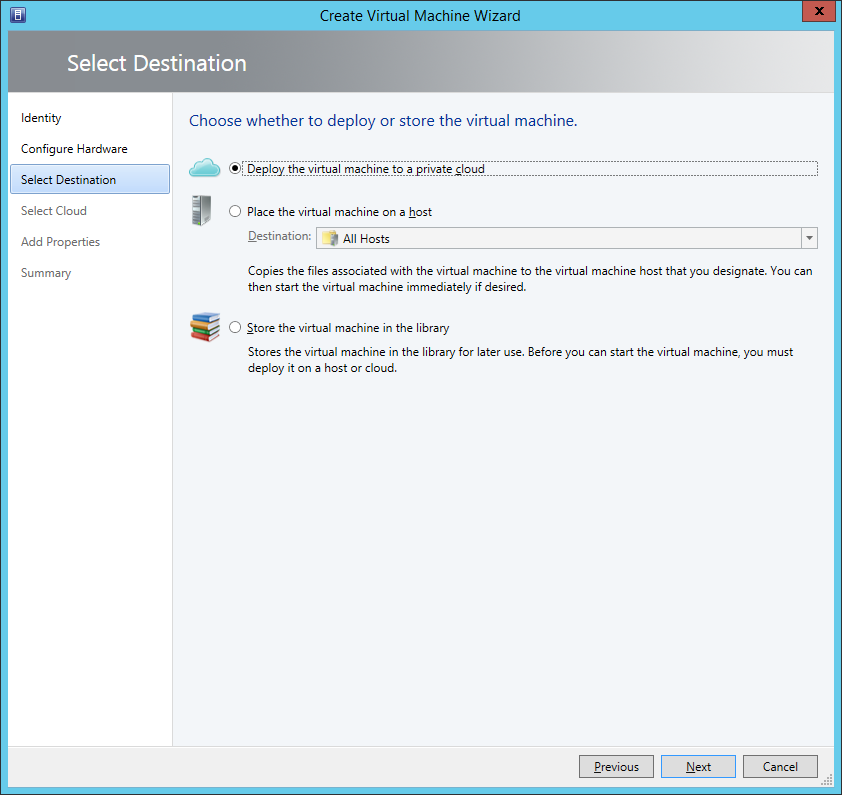
- Deploy to the cloud.
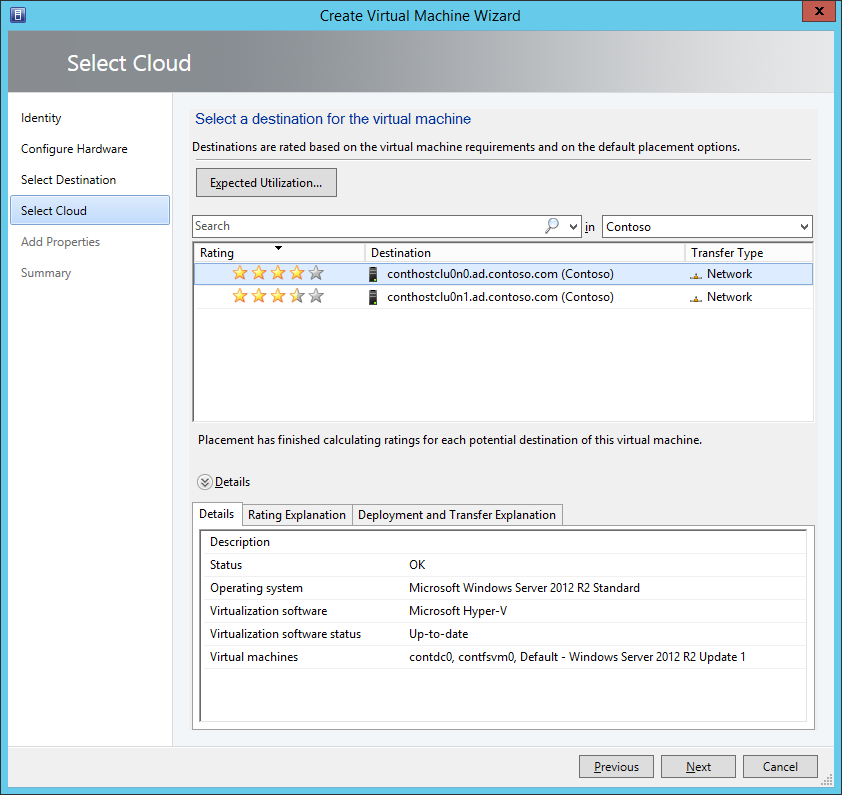
- Choose independent host or cluster node.
- Check automatic actions but you propably do not need to change them.


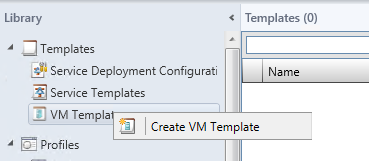
Create new VM Template from the existing virtual machine
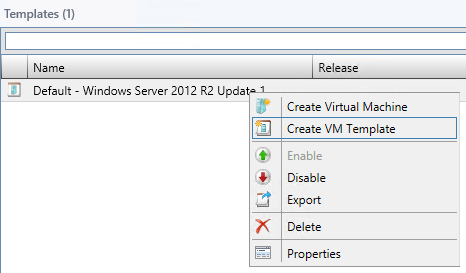
- Create VM Template
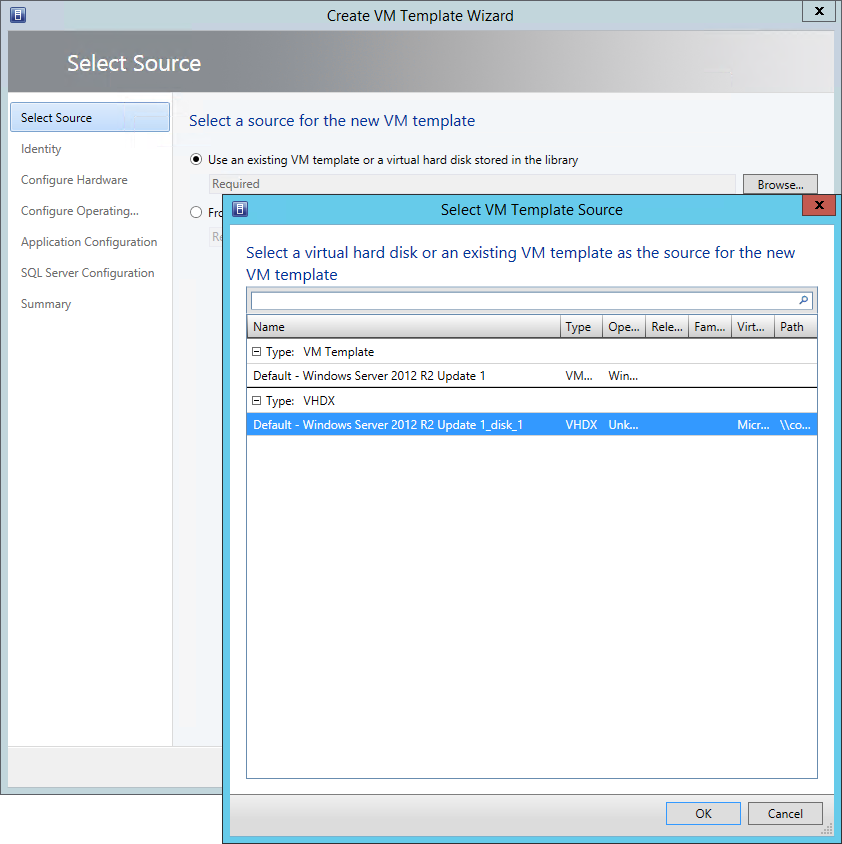
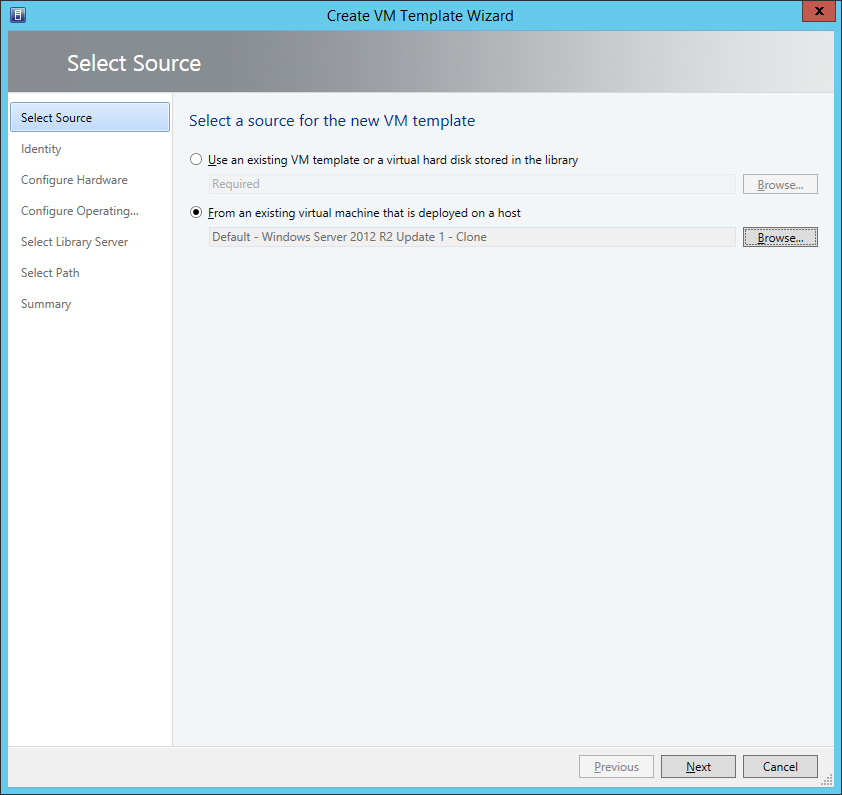
- Select the clone (the copy) of the VM.
- This is reason why we cloned the VM because during creation of the template the VMM will modify the original. In our case the clone will be modified (destroyed).
- The reason of the modification is that the VMM needs to sysprep the VM so the VMM cut off identity of the VM.
- Name the new template.
- Default – Windows Server 2012 R2 Update 1
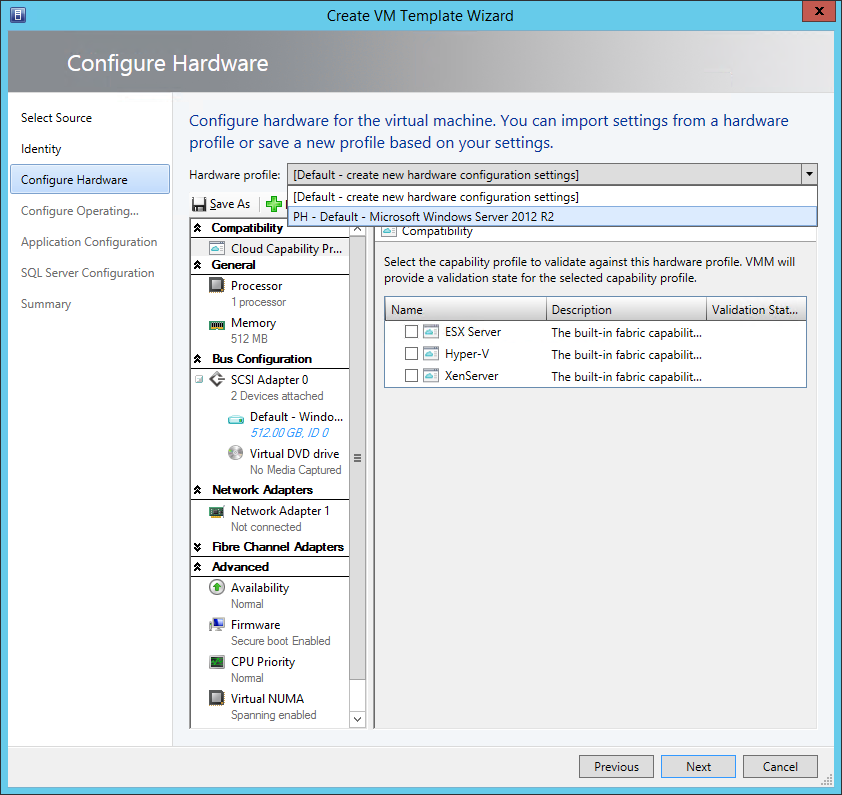
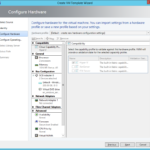
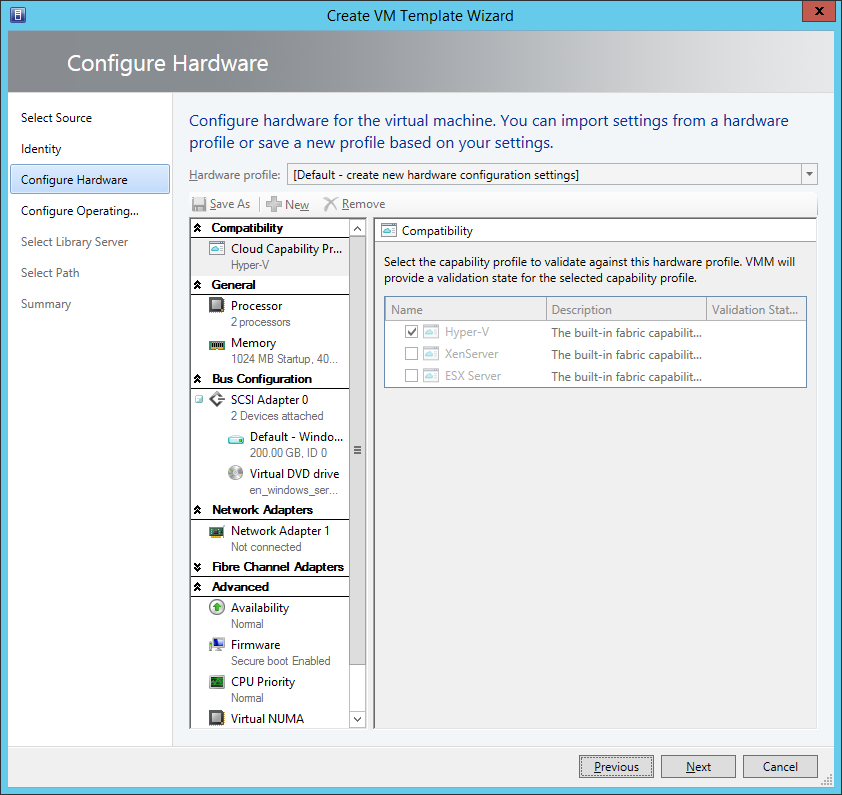
- Hardware Profile – You cannot do any modifications because you are creating VM Template from the existing VM.
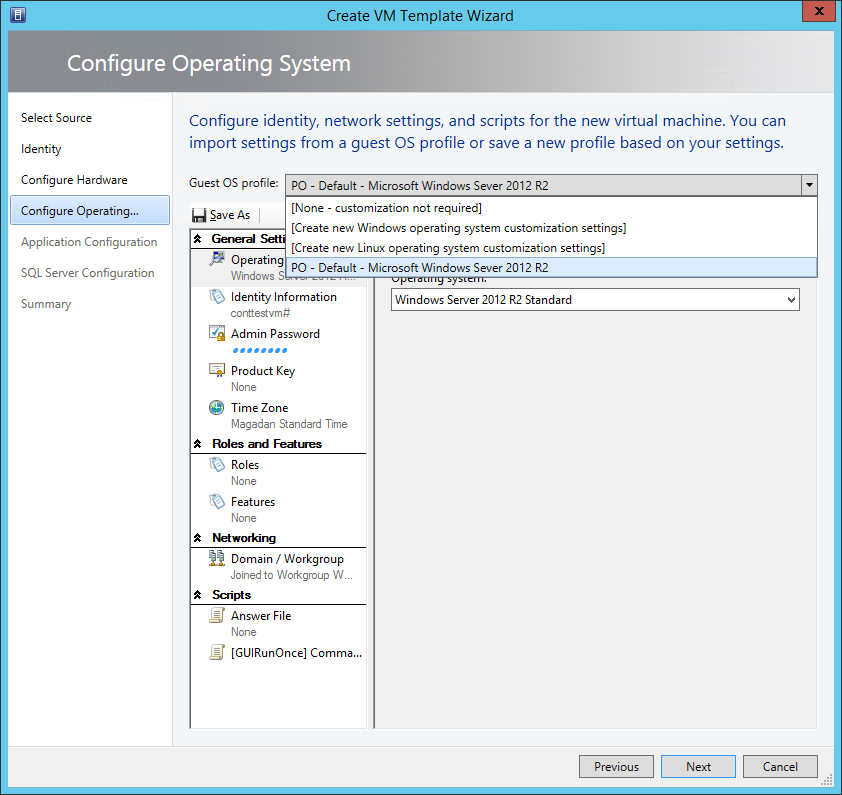
- Select Guest OS Profile. Like in previous step you do not have to specify the configuration of the operating system because it is possible to select Guest OS Profile later during deployment of the VM from this template.
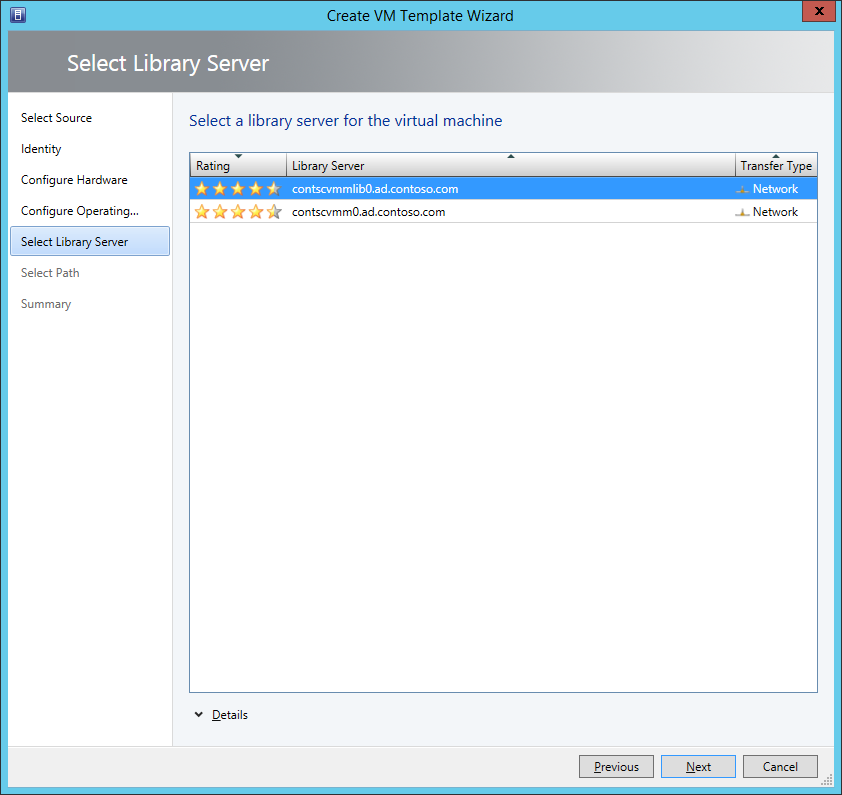
- Select the Library Server.
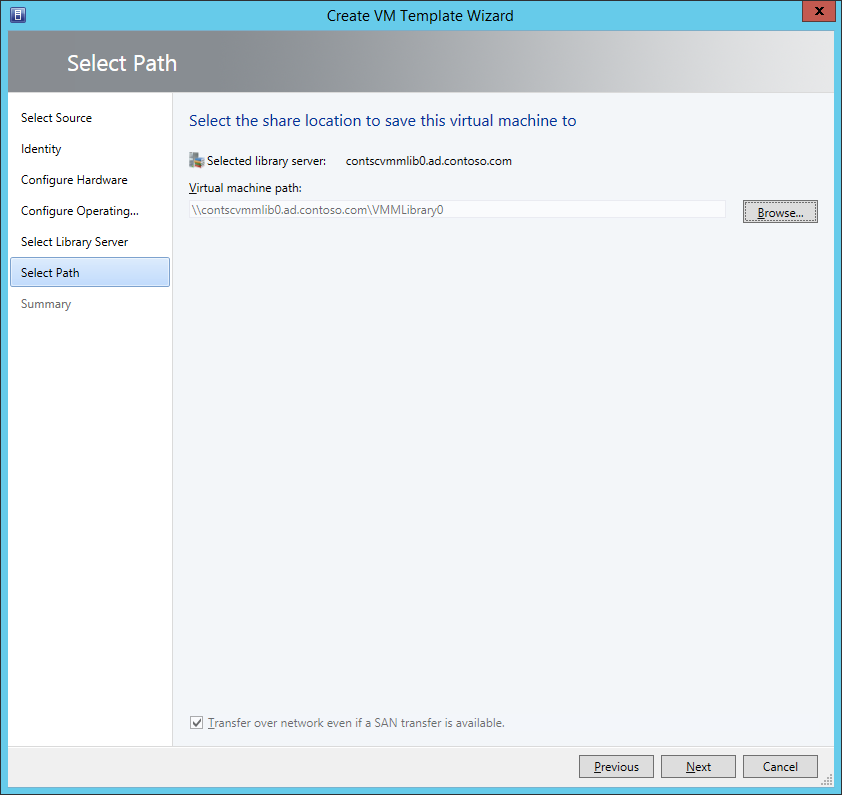
- Select the root path or any other path (directory) where you want to store the template.
- It is a good practice to have separated share or directory for the virtual disks of the VM Templates. The VM Template (the configuration settings) is stored in the database.


Create new VM Template from another VM Template
- You can also very easily create VM Template from the existing VM Template.
- In this case you can define any configuration settings.
Create VM Template from the virtual disk (VHD or VHDX)
- You can create VM Template from virtual disk (VHD or VHDX) that was copied to the Library or that was used to create another VM Template for example from the existing VM like we did at beginning.
- In this case you can define everything.
- It is possible to modify Hardware Profile.
- It is possible to modify Guest OS Profile.
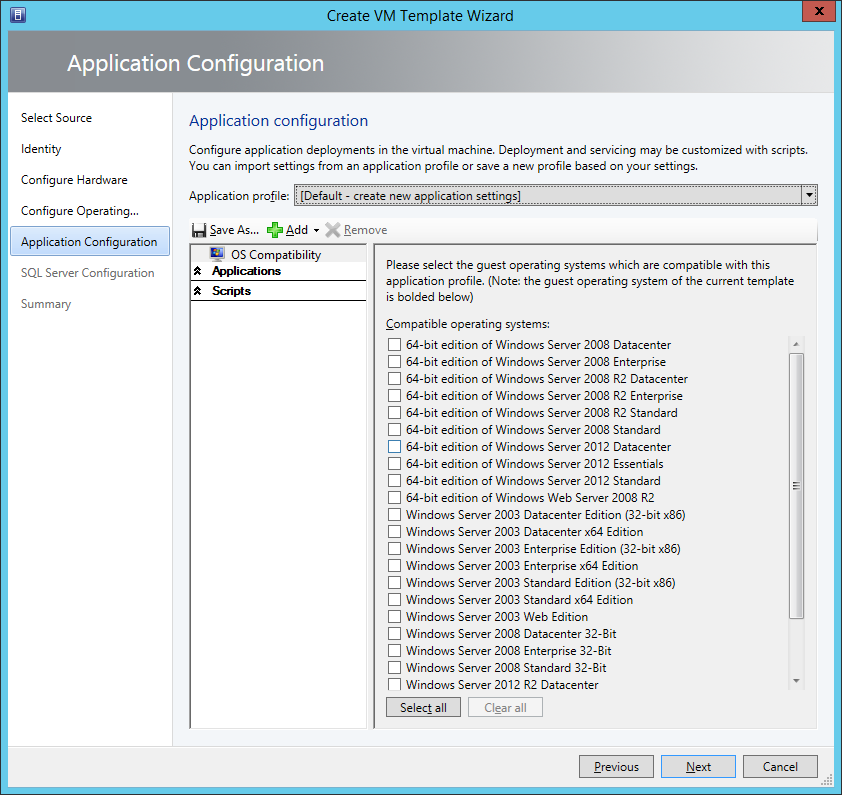
- It is possible to set Application Profile (we do not have any yet).
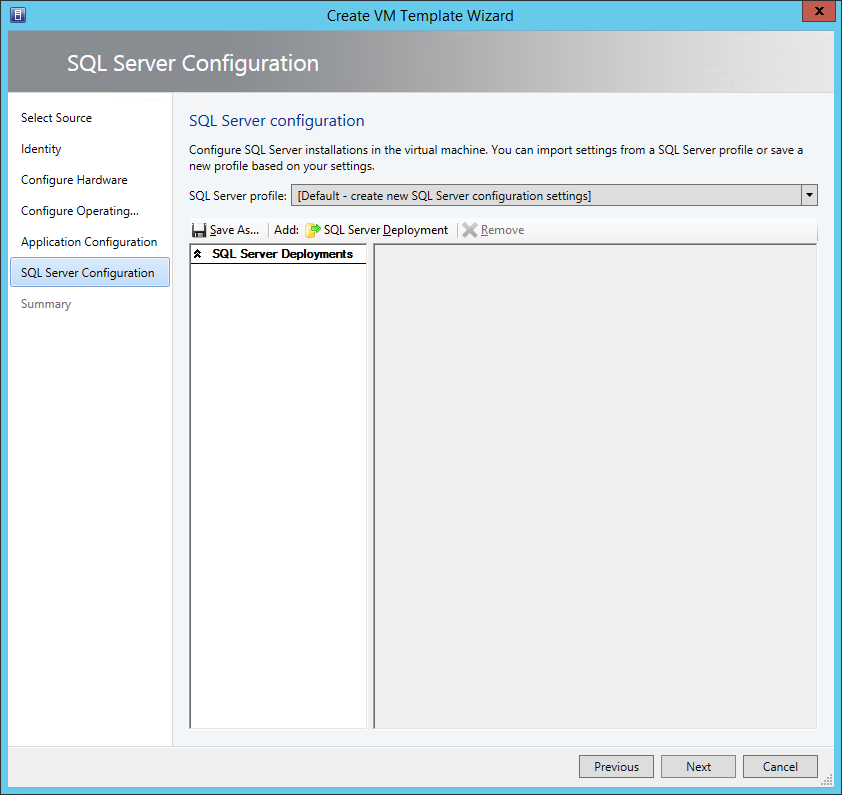
- And of course it is possible to choose existing SQL Server Profile (we do not have any SQL Server instance yet).