This article is not part of the System Center Cloud series but we will use the final product to host System Center database instances.
Low-level design
Service accounts, user accounts and groups
SQL DB Servers – Service accounts
- sercontsqlfcic0cm0a
- Service account: SQL Server Agent
- Member Of
- Domain Users
- sercontsqlfcic0cm0d
- Service account: SQL Server Database Services (Database Engine)
- Member Of
- Domain Users
- sercontsqlfcic0cm0sr
- Service account: Reporting Services
- Member Of
- Domain Users
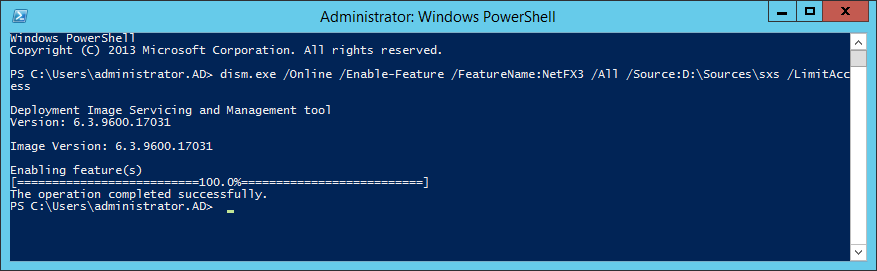
Install .NET Framework 3.5 SP1 on SCSM servers
There is a known bug that SQL Server installer is not able to install .NET Framework 3.5 and therefore it is good idea to install it before installation of the SQL Server.
- Install .NET 3.5 from the installation media (offline installation) without the need of downloading it from the Microsoft.
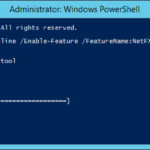
- Command Prompt
dism.exe /Online /Enable-Feature /FeatureName:NetFX3 /All /Source:D:\Sources\sxs /LimitAccess
- Do not forget to install .NET 3.5 security updates.
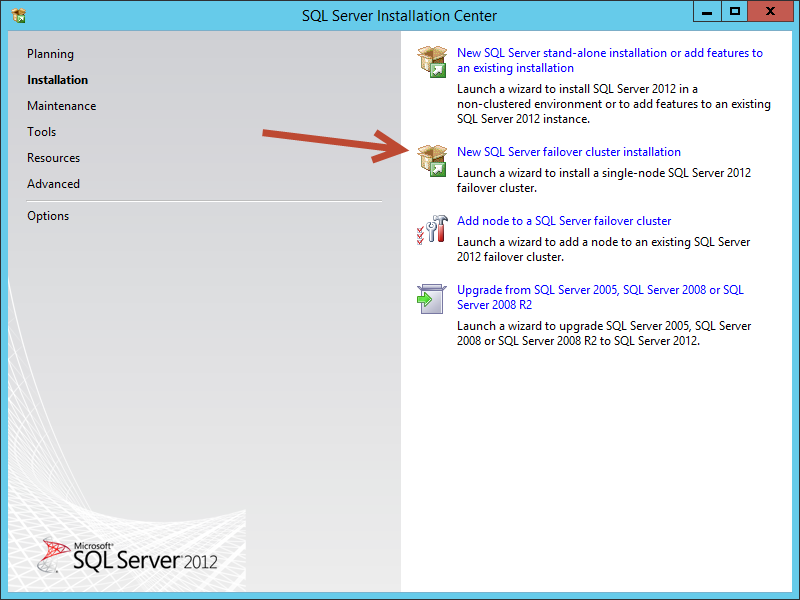
Install Microsoft SQL Server on the first node of the Failover Cluster
- New SQL Server failover cluster installation
- There is one warning accoridng to cluster validation. This warning is expected because nodes in our cluster have only a one NIC.
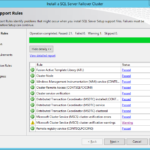
- Microsoft Cluster Service (MSCS) cluster verification warnings
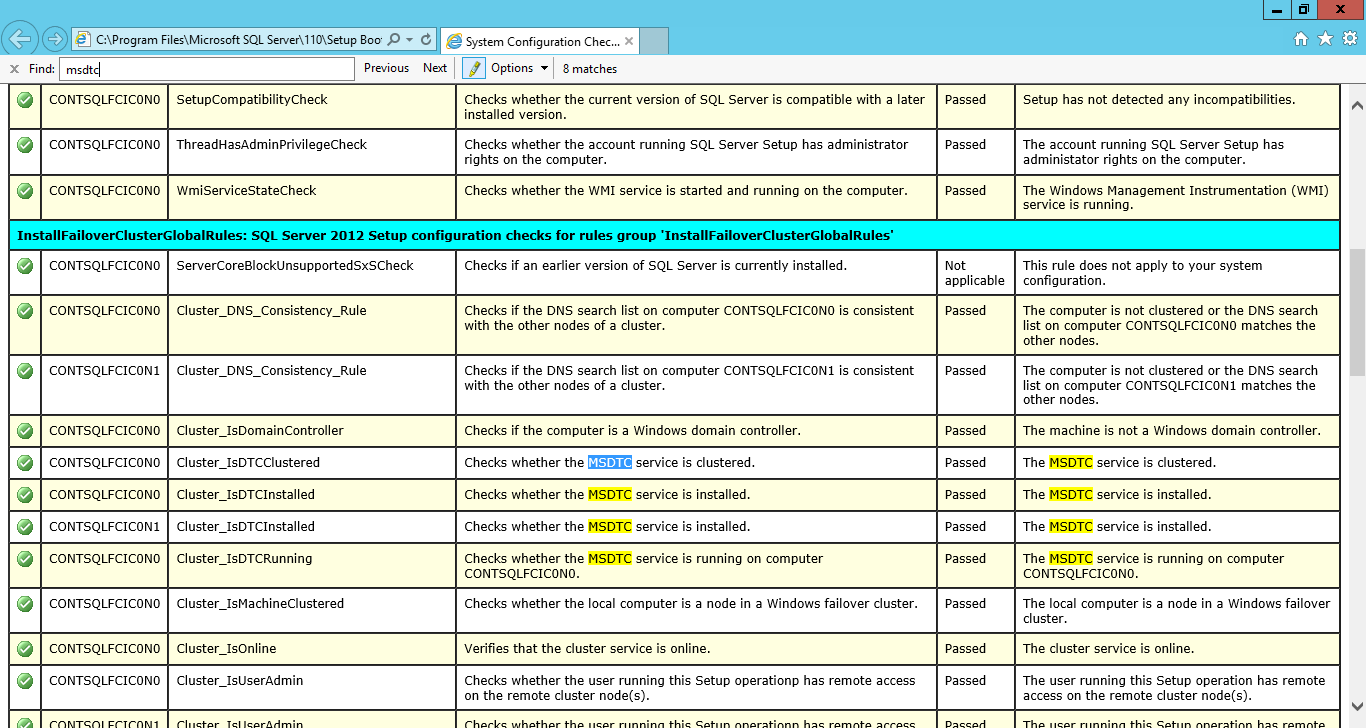
- You may check if the MS DTC is clustered.
- The logs are stored in the C:\Program Files\Microsoft SQL Server\110\Setup Bootstrap\Log\<Date>_<Time> for later use.
- SystemConfigurationCheck_Report.htm
- SystemConfigurationCheck_Report.htm
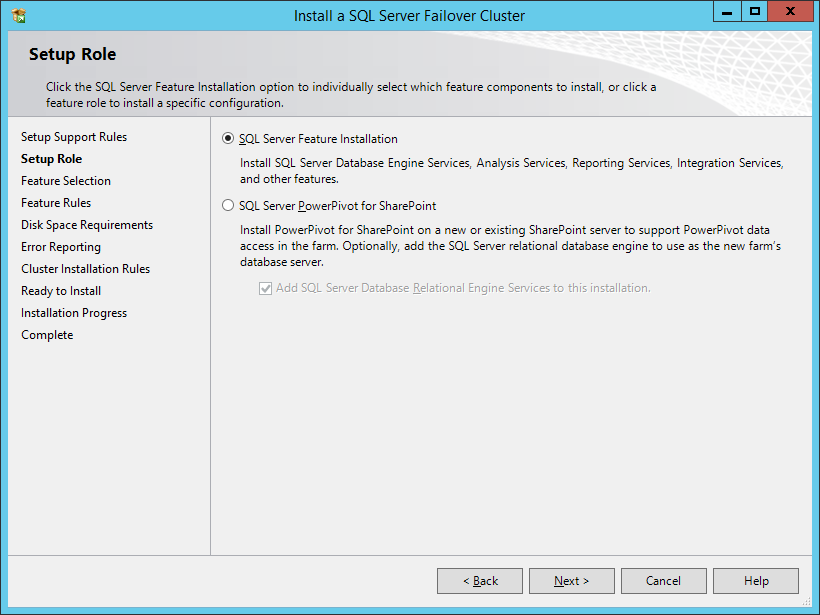
- SQL Server Feature Installation
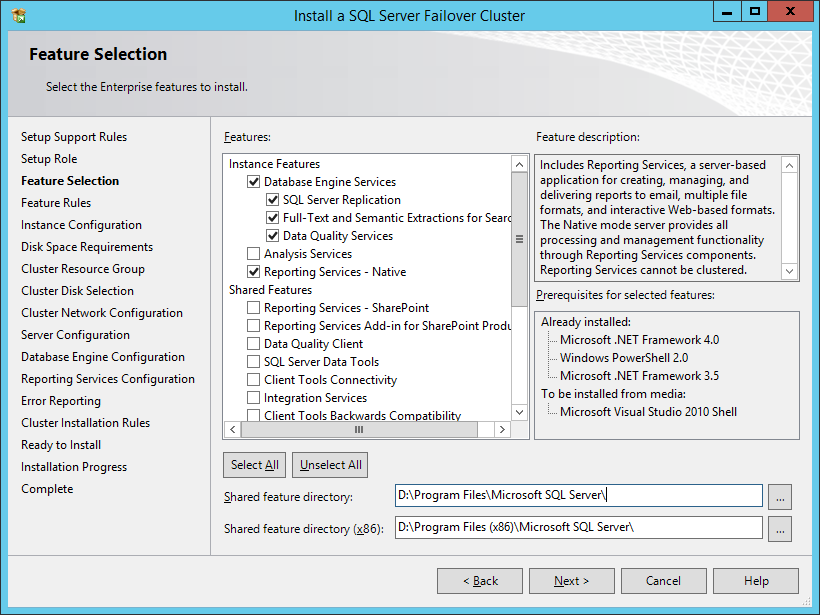
- Choose features.
- Choose location to install shared features. The best practice is to separate system volume, volume with page file and application binaries (SQL Server).
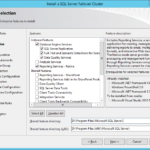
- D:\Program Files\Microsoft SQL Server\
- D:\Program Files (x86)\Microsoft SQL Server\
- Specify the name of new SQL Server that will reside on this Windows Server 2012 R2 cluster.

- contsqlfcic0cm0
- Specify named instance or install as default.
- Set instance root directory where the installer will install binaries of the SQL Server instance. It is recommended to use different volume then C volume where you probably have OS and page file.
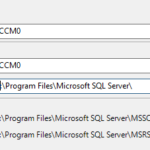
- SCCM0
- C:\Program Files\Microsoft SQL Server\
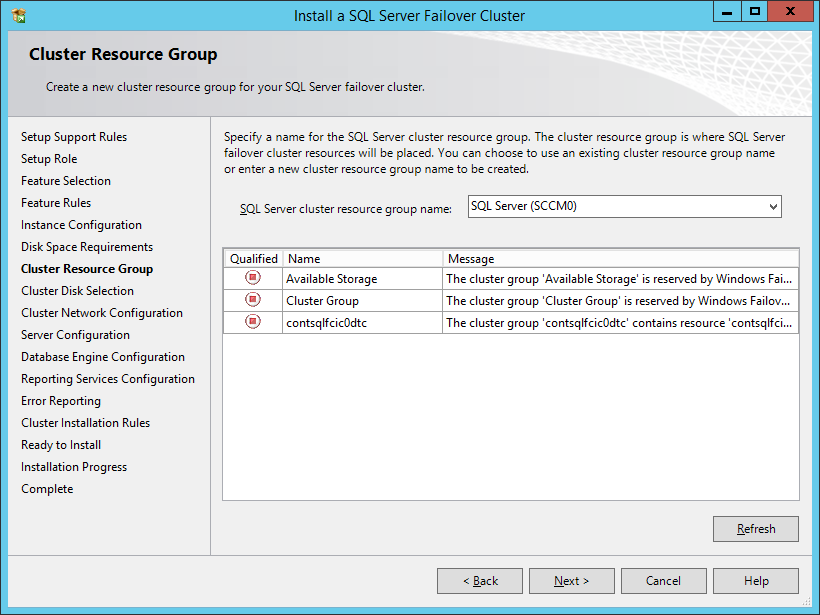
- Cluster Resource Group – You can change the name. I will leave the default.
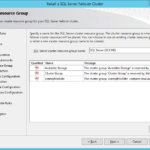
- SQL Server (SCCM0)
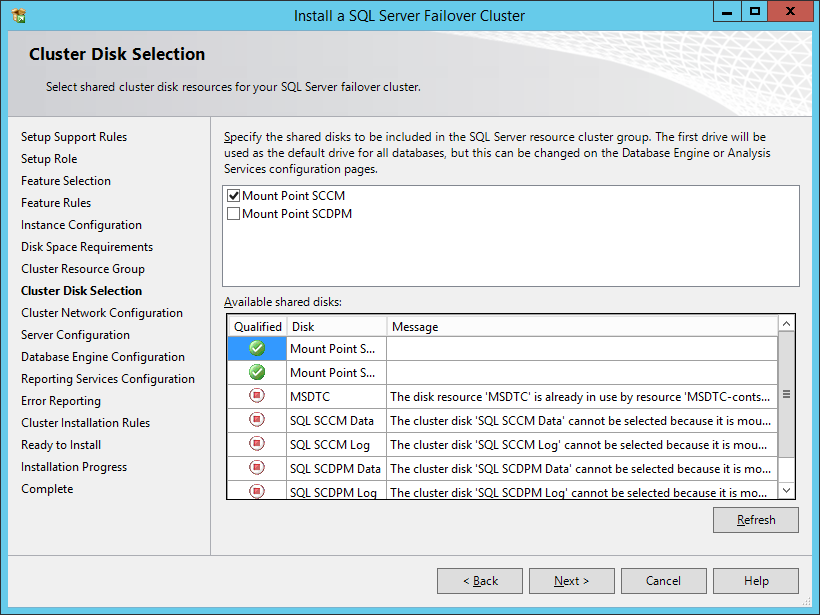
- I assigned drive letters only to the cluster disks with mount points so the other cluster disks cannot be selected.
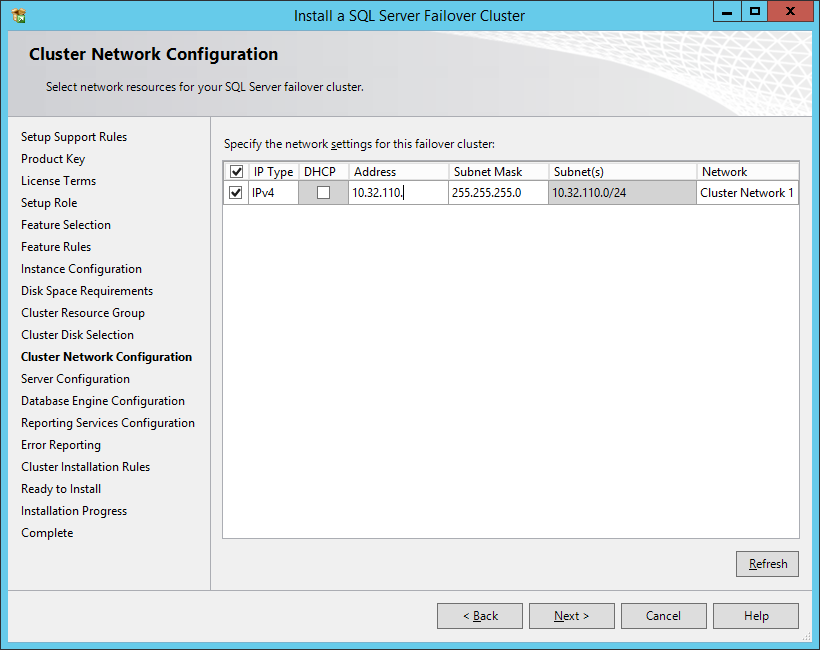
- Choose IP address for the new SQL Server cluster (I named it in the previous steps as contsqlfcic0db).
- Set pre-created service account.
- Do not modify the Startup Type as you may do for standalone installations of the SQL Server. For a clustered instance, the Startup Type for the services should be set to Manual. The Cluster Service will manage this service for us.
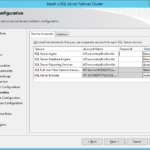
- SQL Server Agent: AD\sercontsqlfcic0cm0a
- SQL Server Database Services (Database Engine): AD\sercontsqlfcic0cm0d
- Reporting Services: AD\sercontsqlfcic0cm0sr
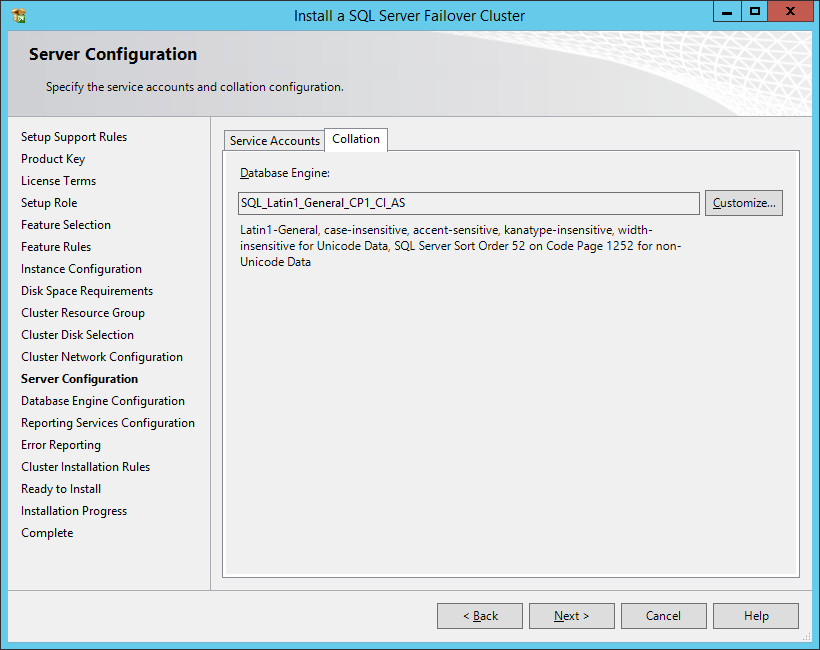
- Set collation. I will leave the default SQL_Latin1_General_CP1_CI_AS.
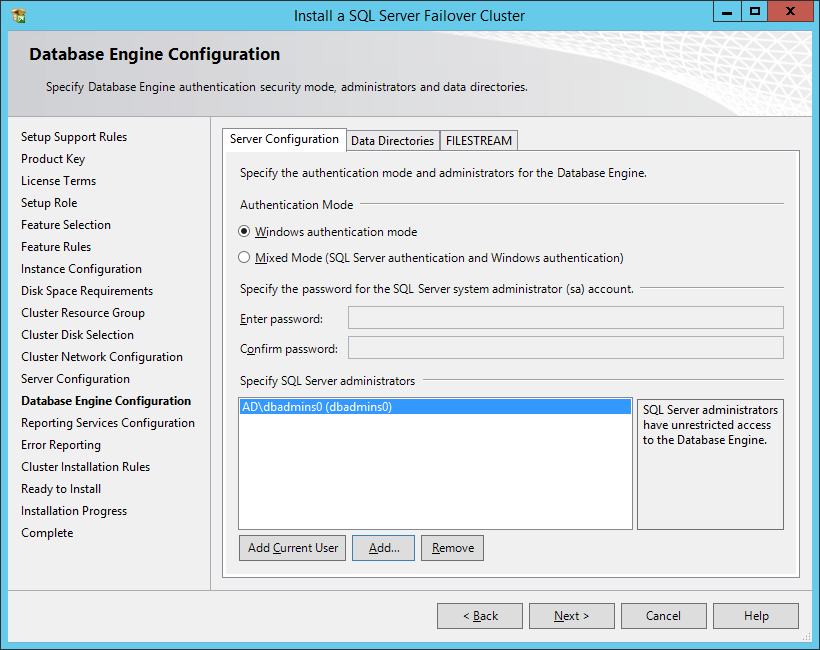
- Specify Authentication mode and SQL Server administrators group.
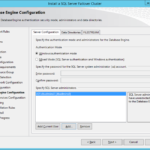
- dbadmins0
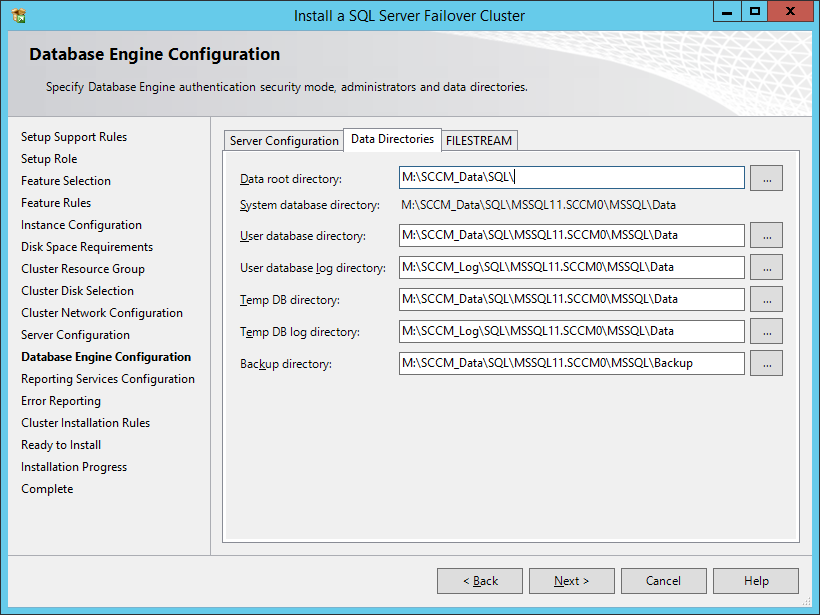
- In the Data Directories tab select paths of created mount points. In the production environment you should spread TempDB, Data and Log but in our example I will install everything on two disks so I will set two different mount points.
- It is required to set all paths to a subdirectory under the mount point. In our example I defined mount_point\SQL directory. The reason is that SQL installer will set specified NTFS permissions and it is not possible to define permissions of the mount point. Another possibility is to manually define the permissions for the whole SQL disk but this is simplier possibility and you will not get any error during installation
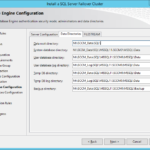
- M:\SCCM_Data\SQL\
- Choose FILESTREAM if your application can use it.
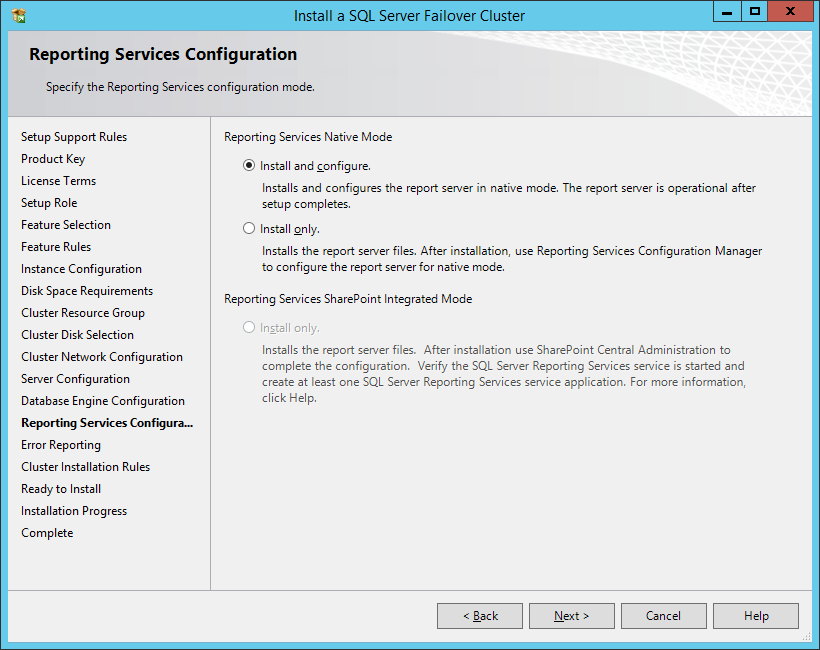
- Reporting Services – choose Install and Configure in order to install and configure SRS to be active on the server. In production environment in separate installation for Reporting Services (without DBEngine feature) you would need to do manual configuration of the Reporting Services.
- Install