This article is not part of the System Center Cloud series but we will use the these servers as our Hyper-V hosts.
Naming convention
- We should continue and set names of the new servers.
- The nodes will be named: conthostclu0n0
- cont – Our fictional company is Contoso
- host – It will be Hyper-V host
- clu0 – It will be part of the cluster no. 0
- n0 – It will be cluster node no. 0
- The nodes will be named: conthostclu0n0
- PowerShell:
Rename-Computer -NewName conthostclu0n0 -Restart -Force

Disk configuration
Some VMs will not be highly-available and will be located on the local disk. It is always best practice to separate application data from the system so I will add a new volume.
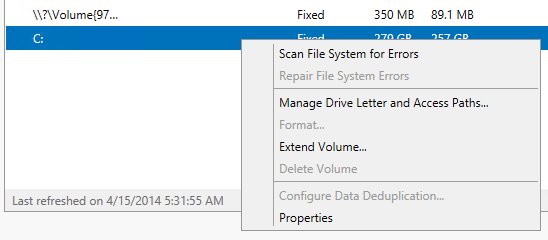
- You cannot shrink the partition and the volume in the new Server Manager.
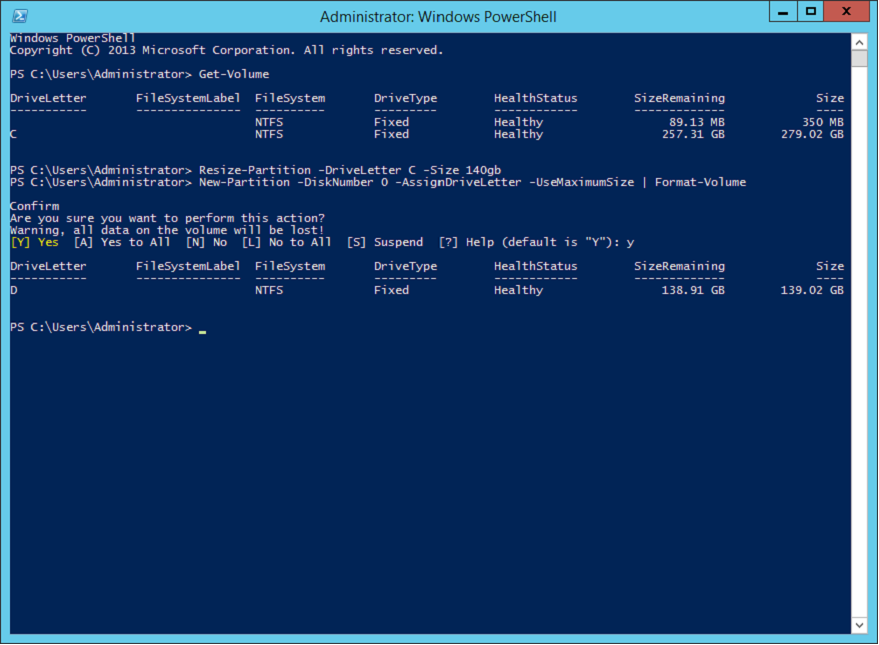
- Use diskmgmt.msc or PowerShell
Resize-Partition -DriveLetter C -Size 140gb
New-Partition -DiskNumber 0 -AssignDriveLetter -UseMaximumSize | Format-Volume
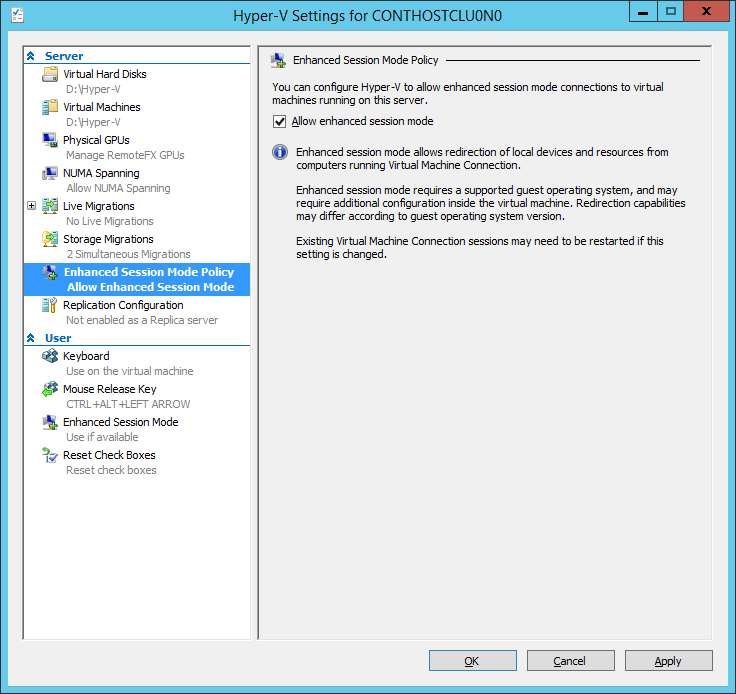
Hyper-V configuration
Now it is a good idea to configure the Hyper-V hosts.
- All paths: D:\Hyper-V
- Enhanced Session: Yes
- Rename virtual switch.